Help Center

ArchGPT is designed to be simple and intuitive. Follow these steps to generate your diagrams:
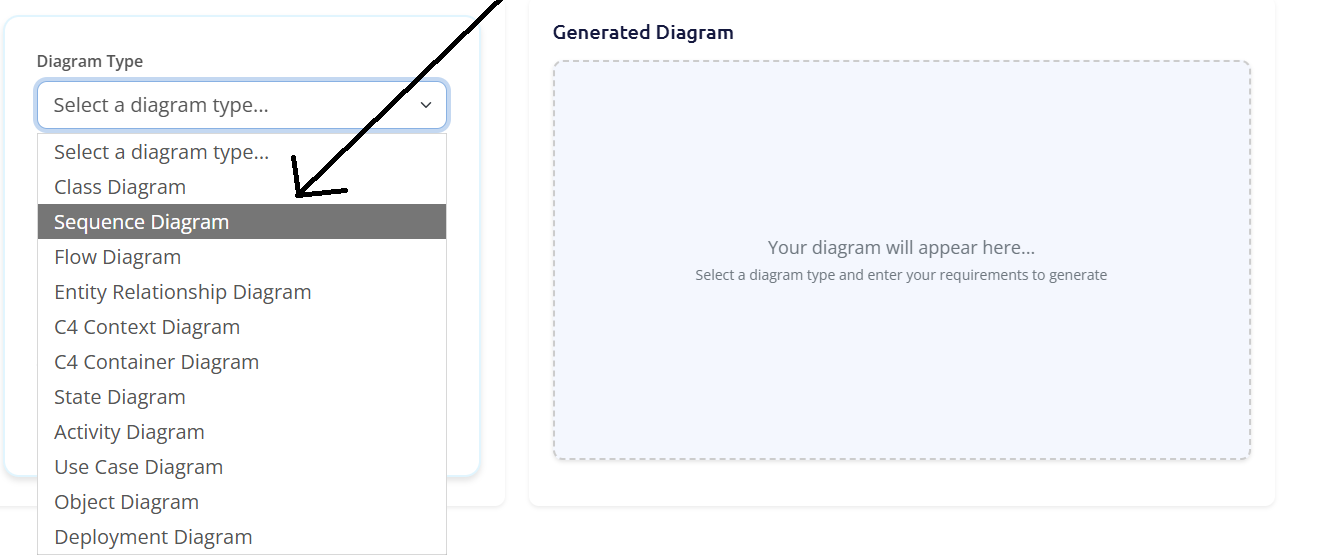
From the homepage, you’ll see a dropdown menu with a list of supported diagram types. Choose the one that best fits your needs, such as "Class Diagram," "Sequence Diagram," or "Flowchart."
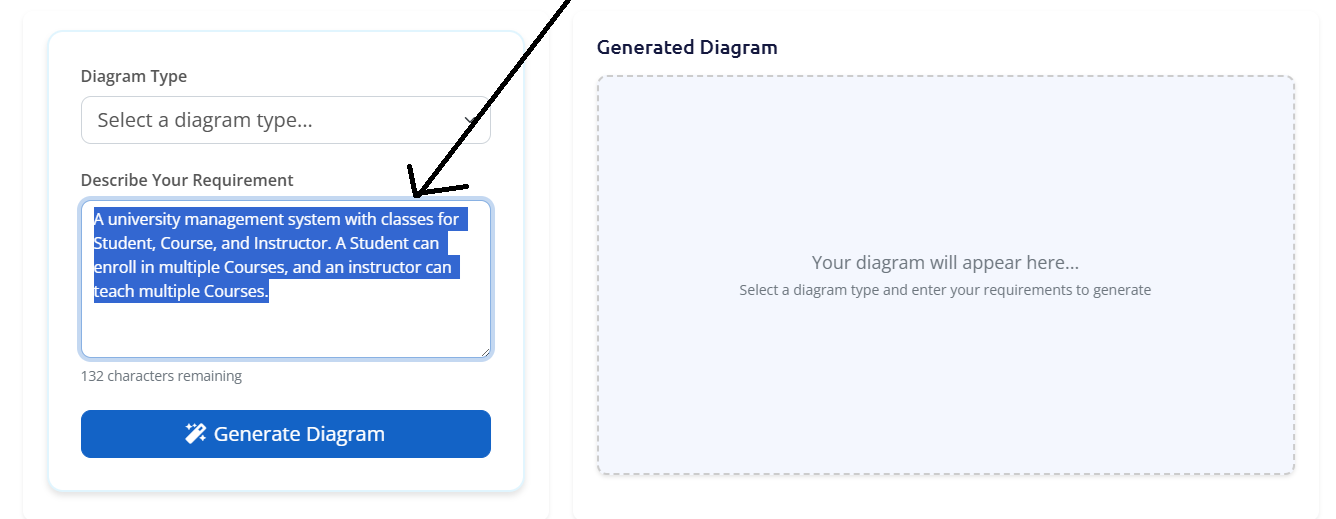
In the text area, describe the system or process you want to visualize. Be as specific as you can to get the best results. For example, for a class diagram, you could write: "A university management system with classes for Student, Course, and Instructor. A Student can enroll in multiple Courses, and an Instructor can teach multiple Courses."
If you need some sample prompts, check out the Sample Prompts section.
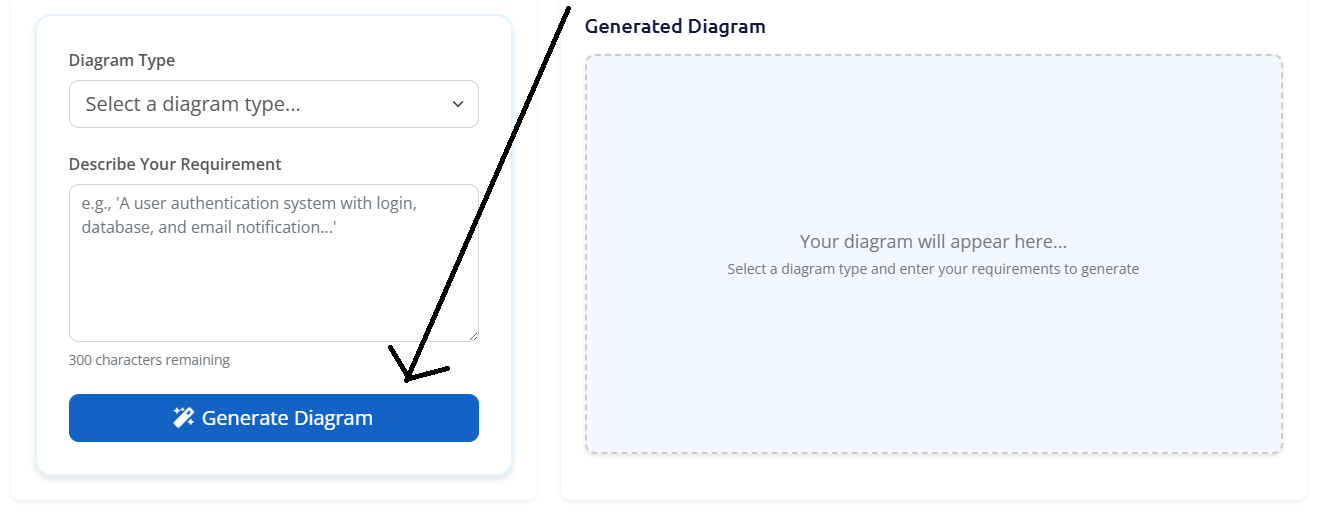
Click the "Generate Diagram" button. The AI will process your request, which may take a few moments. A loading indicator will show that the system is working.
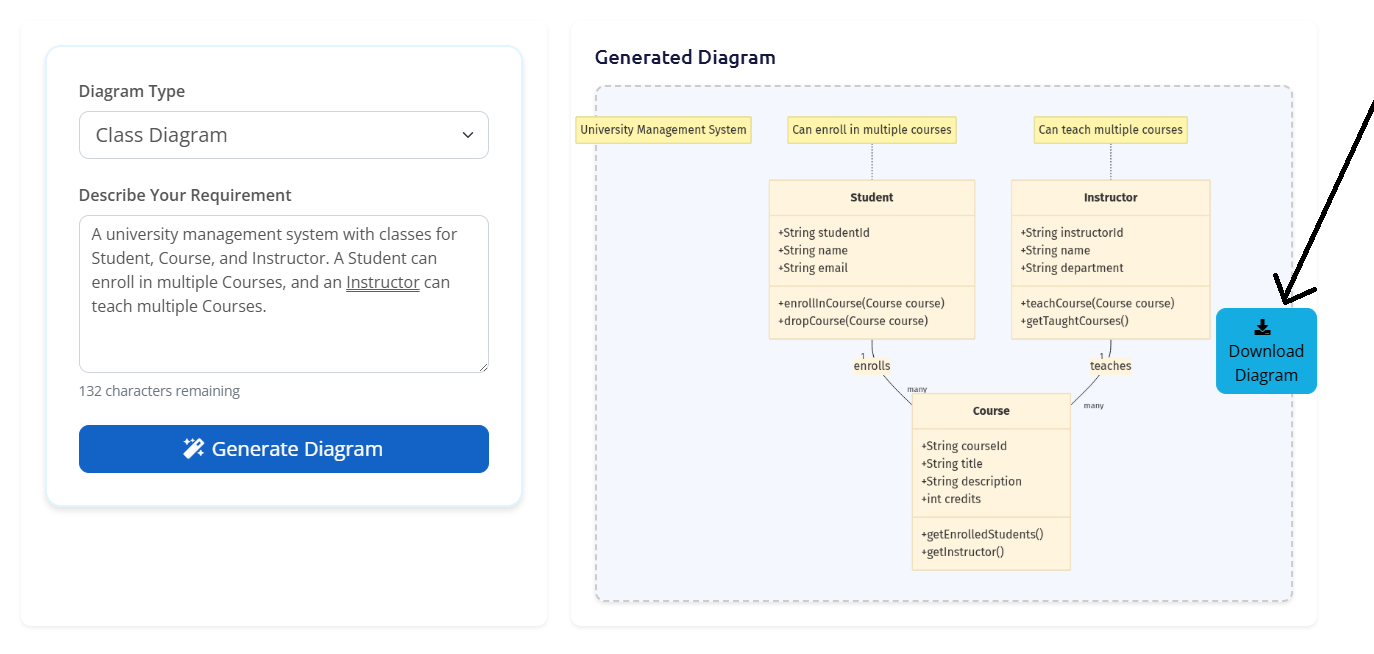
Once generated, your diagram will appear on the screen. You can review it for accuracy. If you’re satisfied, click the "Download" button to save the diagram as a PNG image.